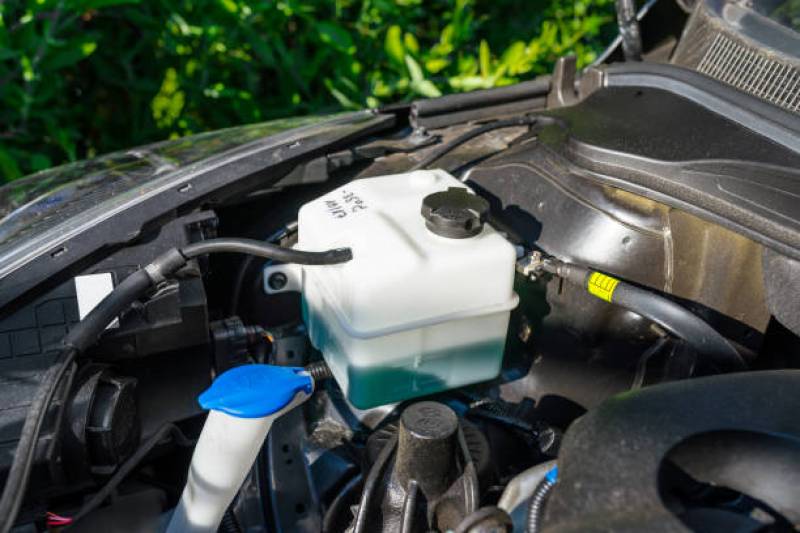
A freon leak in a car’s air conditioning unit can easily sneak up on you without indication, especially if it happens accidentally while traveling down the wrong road.

If it’s a minor freon leak, you will notice the gradual drop in the air conditioner’s cooling intensity before it finally stops. However, in significant leaks, the air conditioning stops working immediately.
In some scenarios, fixing a freon leak in a car would require just topping the refrigerant in your car’s air conditioning unit.
While in some, you’ll have to do more to resolve the problem. In this article, you’ll learn how to fix a freon leak and the best tools needed for it.
Tools Needed to Fix a Freon Leak in a Car
When fixing a damaged component in a car, getting the best tools and replacement components is the first thing anyone would consider.
A Freon leak in your vehicle can seem difficult if you’re new to fixing stuff yourself. Worry not; we’ll show you the right tools for this job. Here they are:
Stop Leak Kit
This tool seizes leaks in evaporators, condensers, compressors, and accumulators. In addition, it prevents further freon leaks so that your car’s air conditioner will function smoothly.
Manifold Gauge Set
With this tool, you can measure pressure and temperature changes. Then, you’ll use the result to decide the intensity of a freon leak in a car.
Reusable Recharge Hose
You’ll need a refrigerant can and gauge blocks.
Screwdrivers
Screwdrivers are the foremost tool needed to fix a freon leak in a car. With the screwdriver, you can loosen and tighten screws and fasteners around your car’s air conditioner.
Cabin Air Filter
You’ll use it to replace a faulty one.
Refrigerant
It’s used to refill a finished refrigerant.
How to Fix a Freon Leak in a Car
Now let’s get down to showing you how to fix a freon leak in your car.
Step 1: Trouble Shooting
- Use your car’s key to start the vehicle.
- Turn on the air conditioner.
- Turn the air conditioner to high.
- Check if your radiator’s cooling fan is turning.
- If your radiator’s fan is not turning, check if there’s an electric issue with the wire. If you find any loose wire, peel it gently and join them. Use an insulator tap.
- Replace the cabin air filter in your car. Changing it will stop the unpleasant smell in your car.
- Check your car’s air conditioner compressor is functioning. If it’s not running, check it as a faulty part.
Step 2: Parts Finding
- Find the air conditioner in the engine bay and check if it’s running simultaneously with the pulley and center of the pulley. If it’s not working, it’s a sign that the air conditioner’s compressor may have broken.
- Check the electric wires that run directly to your car’s air conditioner. For example, most car compressors have wires connected to the electric clutch.
- Unplug the connector in the middle of the electric wires.
- Find a lengthy electric wire and connect it to the compressor.
Step 3: Fix Electrical Faults
- Connect the other end of the electric wire to the positive terminal of your car’s battery. If you didn’t hear a sound, your car’s electric clutch is faulty and needs replacement. So check it as a defective part.
- Call on a freon leak specialist to change your clutch or compressor if it needs replacement.
Step 4: Check Leak Intensity
- Use a manifold gauge set to check for leaks in the air conditioning unit. In addition, you can use leak detection kits that come with dye – the dye detects invisible leaks and cracks faster.
- If you’re using the leak detection kit that comes with a dye, spray it into your car’s air conditioning unit.
- If it detects leaks, take your car to an expert in air conditioner repair. If there’s no leakage, you’ll have to add refrigerants.
- Find the correct refrigerant for your car. Cars before 1995 use R12, and those after use R134. If you use R12 refrigerant, contact an auto repair shop to help you refill.
- Using your temperature sensor, determine the average temperature in your surroundings. Knowing the average temperature in your area will assist you in reading the refrigerant can gauge.
Step 5: Clean the Lower Service Port

- Find the two service ports in your car’s air conditioner, especially the lower service port. To find the lower service port, follow the wire from your car’s air conditioner compressor until you feel a nozzle near the bottom of the vehicle. If you can’t find it through this pattern, use your car manual to look it up.
- Use a dry towel to clean the cap and other areas around the service port.
- Take out the cap and clean the service port with a dry rag.
- Use a spray brake cleaner to wipe the service port and cap again until there’s no debris around the service port.
Step 6: Connect the Refrigerant Can
- Connect the refrigerant refill kit’s hose to the low-side service port.
- Attach the other end of the hose to the refrigerant can valve. If the refrigerant can come with a gauge, connect the hose to the gauge’s valve and extend it to the can.
- Do not place the refrigerant can on the engine bay.
- Check the temperature and the gauge display. The temperature will help you know the quantity of the refrigerant.
- Spray the leak detection kits dye to help you detect leaks while refilling.
- Concentrate on the gauge display while refilling to know when it’s complete. If you can’t read a gauge, check its user guide for instructions.
Step 7: Fill the Refrigerant
- Turn the valve to the right side until it opens the seal at the top of the refrigerant can. If you Can’t find the seal, refer to the refrigerant cans user guide.
- Ensure that the refrigerant has started running into your car’s air conditioning unit.
- Shake the can as often as possible while holding it upright. Doing this will force the refrigerant into your car’s air conditioning unit.
- Check for leaks around your car’s air conditioning unit. Use a stop-leak kit to seal the hole if you find a minor leak.
- If it’s a major leak, take note of the spot.
Step 8: Store the Leftover Refrigerant
- Remove the hose you connected to the low service port once the gauge shows full.
- Store the refrigerant can in a cool, dry place if there’s still some left.
- If there’s an extensive leak in the air conditioning unit while refilling a refrigerant, take your car to a reliable auto shop for repair.
Takeaway
A Freon leak in a car’s air conditioning unit can make driving in hot weather uncomfortable for everyone in that vehicle.
However, fixing the leaking freon can make driving your car fun again. Remember that while fixing your leaking car air conditioner unit, do not open or close any car components you’ve not familiarized.
Also, if your refrigerant is broken, never attempt to change it yourself to ensure that you don’t damage the air conditioning unit permanently.

Patrick started his love affair with cars in his childhood. Over the years, he claims a sturdy hold on his driving skills, along with a thorough understanding of cars. We can expect some interesting, holistic, and pleasurable blogs with his flair for writing and his love for cars.
Being a car enthusiast, Patrick has experience comprising of two decades in which he has ridden some of the meanest and strongest machines in the automotive industry. His previous avatars include an automotive professional, photographer, and journalist, and you will certainly experience the roundness of experience in his piece on this site.
In his second decade of reviewing cars and analyzing tools, Patrick is all set to give you convincing, reliable, and the latest information regarding what’s happening in the automotive industry. Currently, he owns a BMW Z3 but cannot get his eyes off Aston Martin DB5. He is a car enthusiast; he loves cooking and listening to music, especially jazz. Here are some of the pieces written by our ace author.


